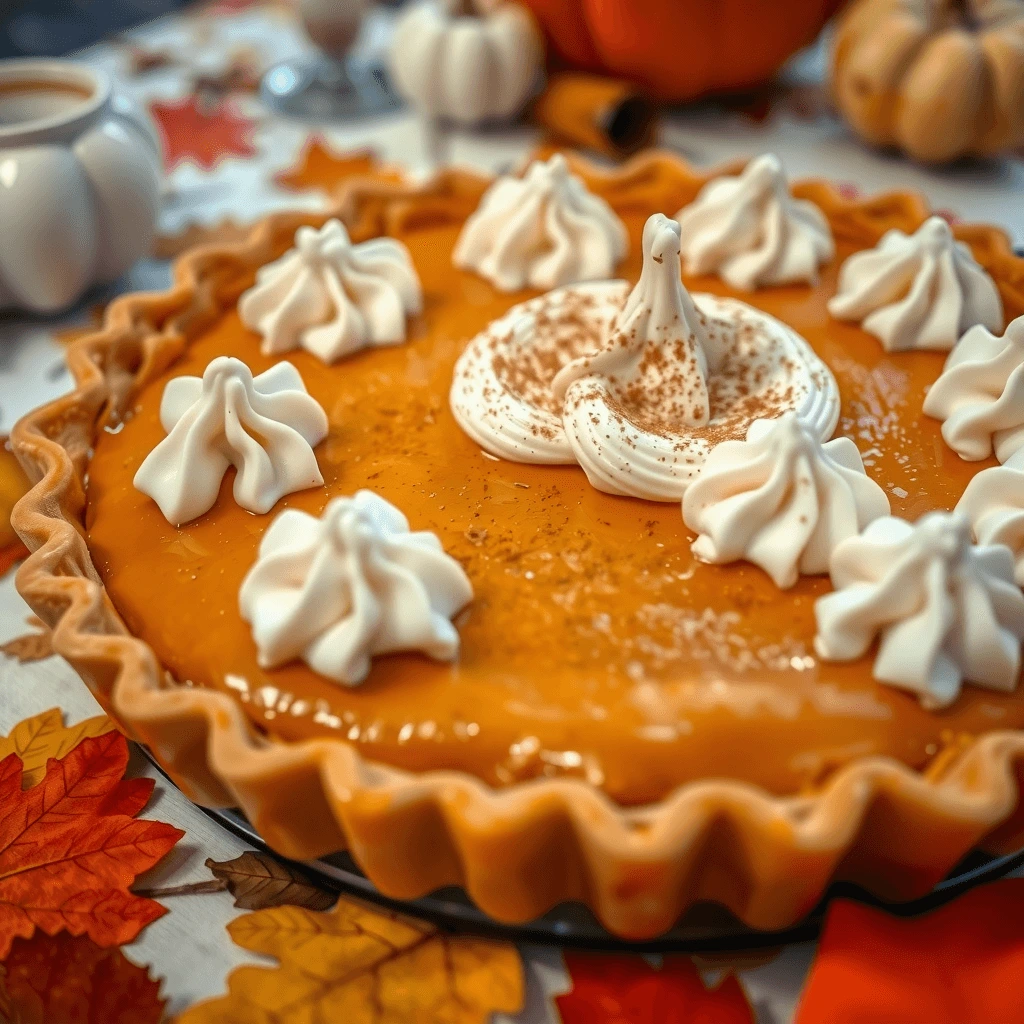
There’s something truly magical about pumpkin pie. Maybe it’s the aroma wafting through your kitchen as it bakes, or the way a perfectly creamy slice melts on your tongue, bringing back cozy memories of holidays past. But what if I told you there’s a simple secret that can make your pumpkin pie even richer, smoother, and more irresistibly delicious? Enter sweetened condensed milk, the game-changer in pumpkin pie recipes that you might not have tried yet.
If you’re craving that classic pumpkin pie experience but want to elevate it with a creamy twist that’s effortless and reliable, you’re in the right place. Let’s dive deep into how you can master the art of making the best pumpkin pie with sweetened condensed milk, turning your dessert game into something unforgettable.
Why Sweetened Condensed Milk is the Secret Ingredient You Need
You might wonder, why sweetened condensed milk? What makes it better than the usual sugar and cream combo?
Sweetened condensed milk is essentially milk that’s been thickened and sweetened, giving it a luscious texture and a rich flavor. When incorporated into pumpkin pie, it:
- Enhances Creaminess: The pie filling becomes silky smooth without needing extra cream or sugar.
- Balances Sweetness: It naturally sweetens the pie without overpowering the spices.
- Simplifies Baking: It blends easily with pumpkin and eggs, making the filling consistent and less prone to cracking.
- Shortens Prep Time: No need to measure sugar separately or worry about curdling cream.
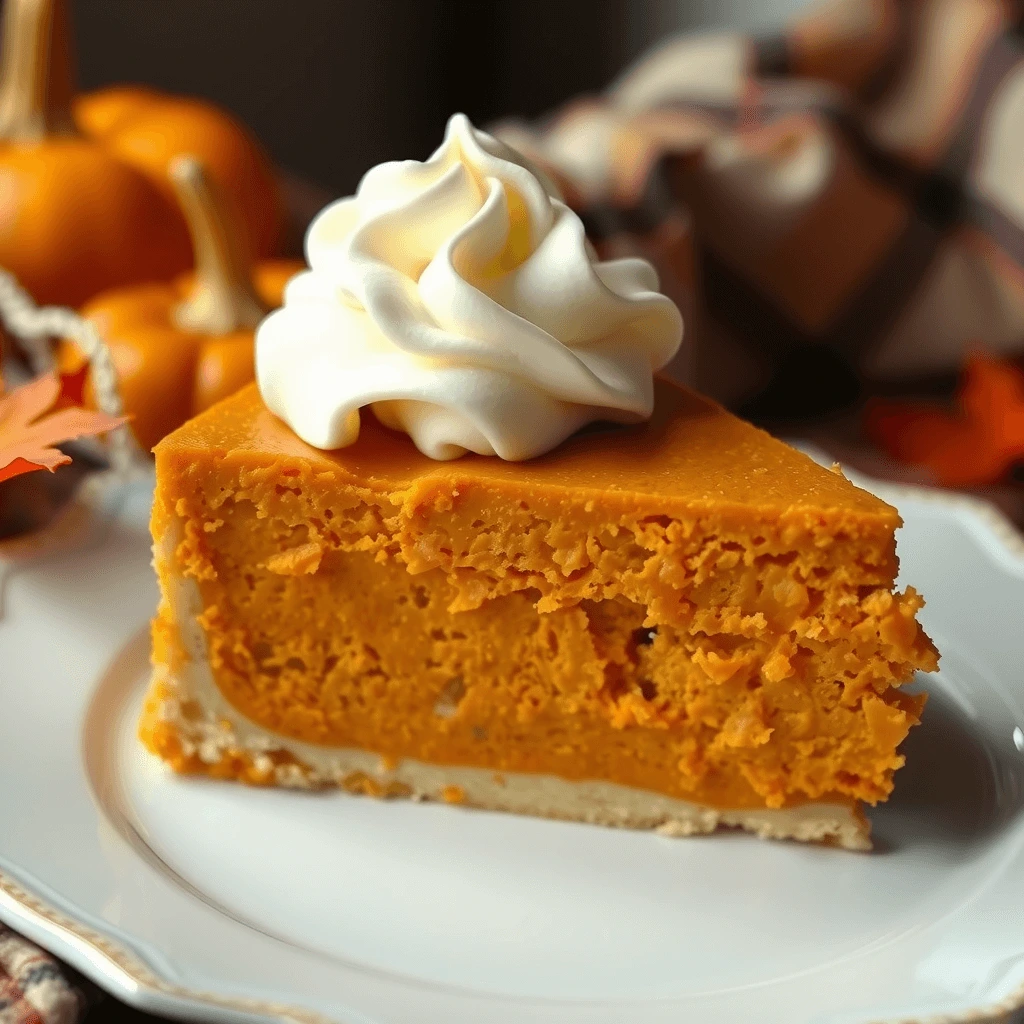
By incorporating sweetened condensed milk, you’re taking your pumpkin pie to a next-level creamy custard texture that’s both indulgent and comforting.
What You’ll Need: Ingredients for Your Perfect Pumpkin Pie
Before you start, gather these essentials. Using quality ingredients can make all the difference in taste and texture.
| Ingredient | Quantity | Notes |
| Pumpkin puree | 1 can (15 oz) | Use pure pumpkin, not pumpkin pie mix |
| Sweetened condensed milk | 1 can (14 oz) | The star ingredient |
| Eggs | 2 large | For structure and binding |
| Ground cinnamon | 1 tsp | Adds warmth and spice |
| Ground nutmeg | ½ tsp | Optional but recommended |
| Ground ginger | ½ tsp | Adds a subtle zing |
| Salt | ¼ tsp | Enhances overall flavor |
| Pie crust | 1 9-inch unbaked | Homemade or store-bought |
Pro tip: Spices ground fresh bring a distinct improvement. If you can, opt for fresh cinnamon sticks and grate nutmeg yourself for maximum flavor.
Step-by-Step: How to Make Pumpkin Pie with Sweetened Condensed Milk
Ready to bake? Follow these simple steps to get that perfectly smooth, delicious pie:
1. Prepare Your Oven and Crust
Start by preheating your oven to 425°F (220°C). If you’re using a store-bought crust, place it in your pie dish and prick the bottom with a fork to prevent bubbles. If making homemade crust, roll it out and fit it carefully into your dish.
2. Mix the Filling
Add the pumpkin purée and sweetened condensed milk to a large mixing bowl. Break in the eggs, then sprinkle in the cinnamon, nutmeg, ginger, and salt. Whisk thoroughly until the mixture is smooth and well combined.
3. Fill the Crust
Transfer the filling to the prepared pie crust, smoothing it out evenly.
4. Bake Your Pie
Bake at 425°F for 15 minutes to set the crust. Then, reduce the oven temperature to 350°F (175°C) and continue baking for another 35-40 minutes. To check if it’s done, insert a knife into the center, it should emerge mostly clean, with just a few moist crumbs.
5. Cool and Serve
After baking, allow the pie to cool fully on a wire rack. This step is crucial because it allows the filling to firm up perfectly, making slicing easier and cleaner.
Tips to Nail the Perfect Texture and Flavor Every Time
Achieving pie perfection is all about the little things. Here are some insider tips:
- Room Temperature Ingredients: Eggs and pumpkin puree blend better at room temperature, giving you a lump-free filling.
- Avoid Overbaking: The filling should still have a slight wobble in the center when you take it out. It keeps setting as it comes to room temperature.
- Protect the Edges: If the crust starts browning too quickly, cover the edges with foil or a pie crust shield.
- Spice it Your Way: Adjust the amount of cinnamon or add a pinch of cloves if you want a bolder spice profile.
- Let It Rest: Cooling completely (and even refrigerating overnight) enhances flavor and texture.
Experiment with Variations and Serving Ideas
Want to make this pumpkin pie truly your own? Here are some ways to customize:
- Crunch Factor: Top with toasted pecans or walnuts before baking for a satisfying crunch.
- Cheesecake Swirl: Add dollops of cream cheese into the filling and gently swirl with a knife for a marbled effect.
- Alternative Crusts: Swap the traditional crust with gingersnap or graham cracker crust for added flavor depth.
- Serving Style: Top it off with whipped cream, a splash of caramel, or a scoop of vanilla ice cream to take each bite to the next level.
Common Problems and How to Fix Them
Even the best bakers face challenges. Here’s how to troubleshoot:
| Problem | Cause | Solution |
| Cracked Filling | Overbaking or rapid cooling | Avoid overbaking; cool pie gradually at room temp |
| Runny Filling | Underbaking or incorrect egg ratio | Bake longer; ensure correct egg quantity |
| Soggy Crust | Moist filling leaking | Pre-bake crust (“blind bake”) or add barrier (egg wash) |
| Overly Sweet Pie | Too much sweetened condensed milk | Adjust spices to balance sweetness |
Frequently Asked Questions About Pumpkin Pie with Sweetened Condensed Milk
Can I use fresh pumpkin instead of canned?
Yes! If you prefer fresh pumpkin, roast or steam the pumpkin chunks until tender, then puree them until smooth. Keep in mind fresh pumpkin is less dense and may need a bit less liquid or a longer bake time.
Is sweetened condensed milk necessary?
While traditional recipes use sugar and cream, sweetened condensed milk provides natural sweetness and a smoother texture, simplifying your baking process. If you don’t have it, evaporated milk plus sugar can be a substitute, though the texture may differ.
How long will a sweetened condensed milk pumpkin pie keep?
Keep it refrigerated, covered, for up to four days. For best taste and texture, consume within this window.
Can I freeze pumpkin pie?
Absolutely! Wrap it tightly with plastic wrap and foil, then freeze for up to a month. Thaw in the refrigerator overnight before serving.
How do I make a vegan pumpkin pie with sweetened condensed milk?
You can use plant-based sweetened condensed milk alternatives (like coconut condensed milk) and substitute eggs with flax or chia seed eggs. Note that the taste and texture might differ a bit.
Conclusion: Time to Bake Your Best Pumpkin Pie with Sweetened Condensed Milk
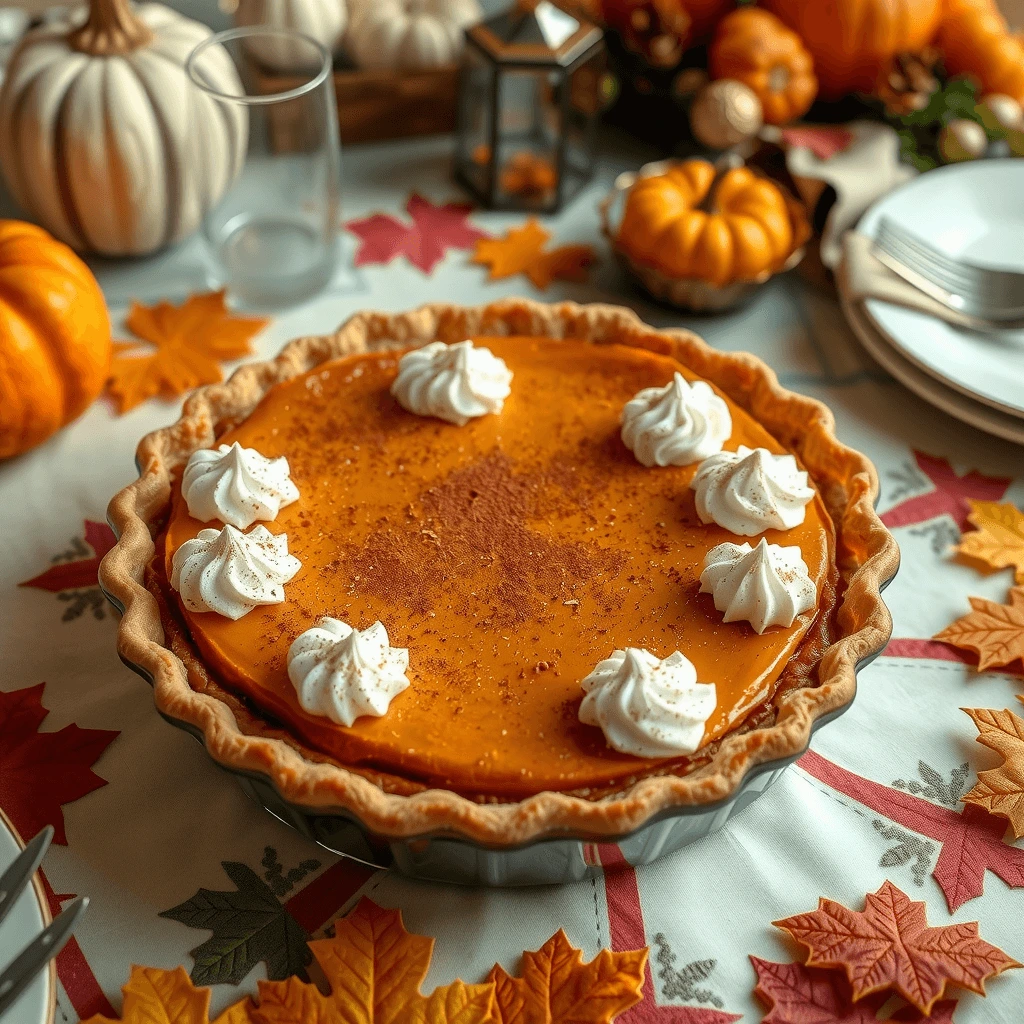
Now that you know the secret to a creamier, sweeter, and simpler pumpkin pie, it’s time to get baking. This recipe is perfect for holiday gatherings, casual family dinners, or whenever you want a slice of comfort on your plate. Sweetened condensed milk transforms the traditional pumpkin pie into a velvety masterpiece that’s sure to impress.
Feel free to make the pie your own with spices and toppings you love, after all, that’s what makes baking fun! So, grab your ingredients, preheat your oven, and prepare your Best Pumpkin Pie with Sweetened Condensed Milk to create a dessert that’s as heartwarming as it is delicious.
If you try this recipe, I’d love to hear how it turned out. Share your tips, photos, or questions in the comments below. Happy baking! 🍂🥧
LEAVE A COMMENT
There are no reviews yet. Be the first one to write one.