
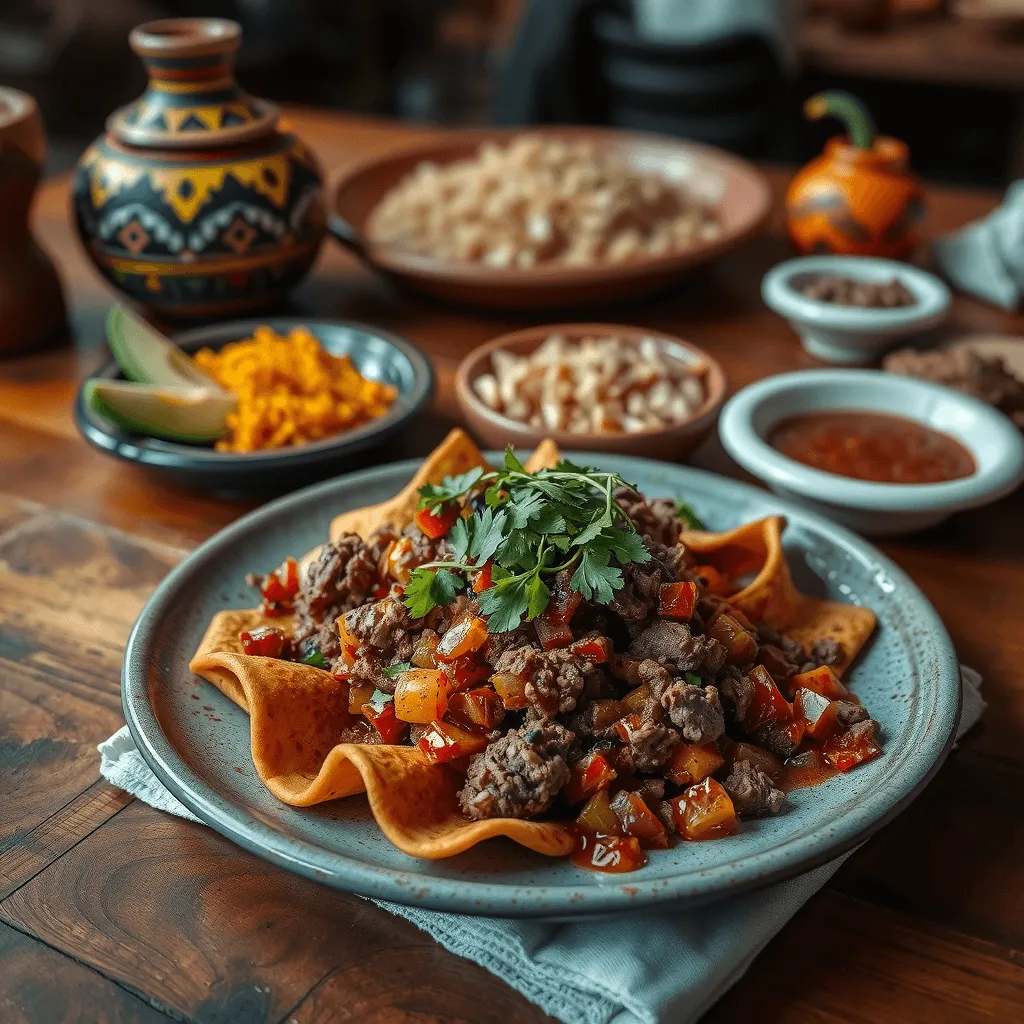
There’s something special about the irresistible aroma of meats sizzling on a giant disco pan, merging flavors in an outdoor celebration of food and fellowship. When you make traditional discada recipe, you’re not just cooking, you’re reviving a rich Mexican legacy that sparks shared memories and joy at every gathering. In this guide, you’ll discover how to prepare this hearty dish from scratch, no coincidences, no fluff, just you, your spatula, and the vibrant essence of northern Mexican cuisine.
Discada Recipe
Ingredients
Equipment
Method
- Cook the bacon in a large skillet or Discada pan over medium heat until crispy. Remove and set aside, leaving the rendered fat.
- Brown the chorizo and ground beef, breaking apart as it cooks. Drain excess grease if needed.
- Add ham and hot dogs and cook 3–4 minutes until lightly browned.
- Sauté vegetables: onion and bell peppers until softened (~5 min), then add garlic and cook 30 seconds.
- Add tomatoes and jalapeños; cook 5 minutes until juices release.
- Deglaze with beer and soy sauce, scraping browned bits from the bottom. Simmer uncovered 15–20 minutes until slightly thickened.
- Season with salt & pepper, stir bacon back in.
- Serve hot with warm corn tortillas, lime wedges, and fresh cilantro.
Notes
Discada Recipe – Nutrition Facts (Per Serving, 1/6 of recipe)
| Nutrient | Amount |
|---|---|
| Calories | 700 kcal |
| Total Fat | 52 g |
| Saturated Fat | 19 g |
| Trans Fat | 1 g |
| Cholesterol | 165 mg |
| Sodium | 1,350 mg |
| Total Carbohydrates | 21 g |
| Dietary Fiber | 4 g |
| Sugars | 5 g |
| Protein | 38 g |
| Vitamin A | 35% DV |
| Vitamin C | 60% DV |
| Calcium | 8% DV |
| Iron | 25% DV |
What Is Discada? A Taste of Shared Heritage
Discada recipe isn’t your average taco filling. Originally crafted in Mexico’s northern states like Chihuahua and Coahuila, it’s cooked on a disco de arado, a converted plow disc, where you layer meat, vegetables, and spices. This one-pan marvel transforms simple ingredients into smoky, succulent richness. You’ll often find it at barbecues, family reunions, and outdoor fiestas, because cooking outdoors on a disco becomes an event itself.
What makes discada unique?
- Layered meats that develop deep flavors as they cook together.
- One-pan simplicity, even with multiple ingredients.
- Communal presentation, everyone gathers around the disco, hot tortillas in hand.
- Customizable showstopper, you control the heat, spice, and ingredient combinations.
Discada Ingredients (Traditional and Adaptable)
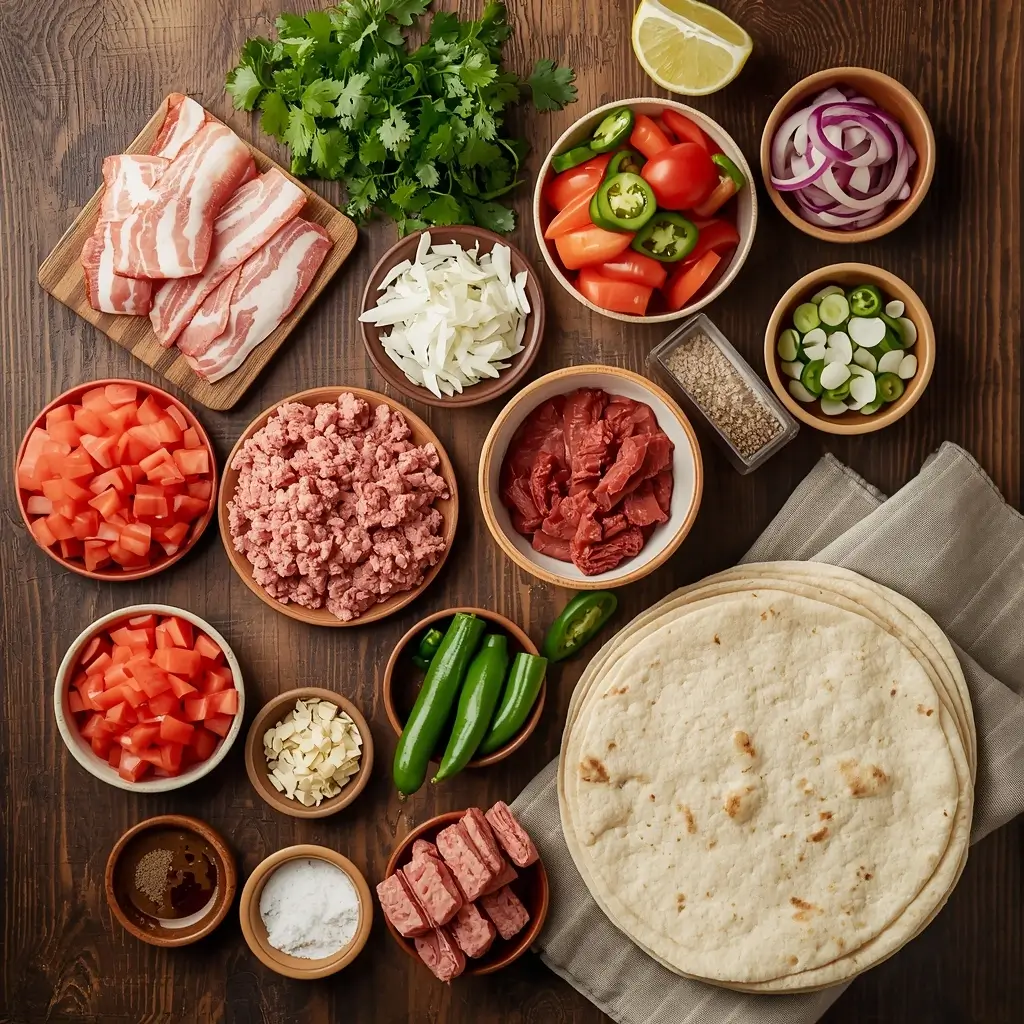
Here’s what you’ll need to make an authentic discada recipe. Feel free to swap items based on availability or taste:
| Ingredient | Quantity | Notes / Alternatives |
| Bacon | ½ lb | Turkey bacon ok; adds rich base fat |
| Chorizo | ½ lb | Preferably Mexican-style, for spice |
| Ham | ½ lb, diced | Enhances umami with sweet country flavor |
| Ground Beef | 1 lb | Sub with pork or turkey if preferred |
| Hot Dogs | 4, sliced | Boar’s Head or your favorite brand |
| Onion | 1 large | White or yellow, finely chopped |
| Bell Peppers | 2 | Mixed colors for visual and flavor dimensions |
| Garlic | 4 cloves, minced | Releases smoky aroma when sautéed |
| Tomatoes | 3 medium | Roma preferred; juicy & low moisture |
| Jalapeños | 2–3, sliced | Optional; adds controlled heat |
| Beer | 1 cup | Light lager or Mexican; can sub broth |
| Soy Sauce | 1–2 tbsp | Enhances savory depth |
| Salt & Pepper | To taste | Fundamental for balance |
| Corn Tortillas | As needed | For serving |
| Lime Wedges | For garnish | Bright finish |
| Cilantro | Optional garnish | Brings fresh herb fragrance |
Step‑by‑Step Cooking Guide
1. Prep All Ingredients
- Chop meats and vegetables into uniform, bite-sized pieces.
- Mince garlic finely.
- Arrange ingredients in separate prep bowls for easy layering.
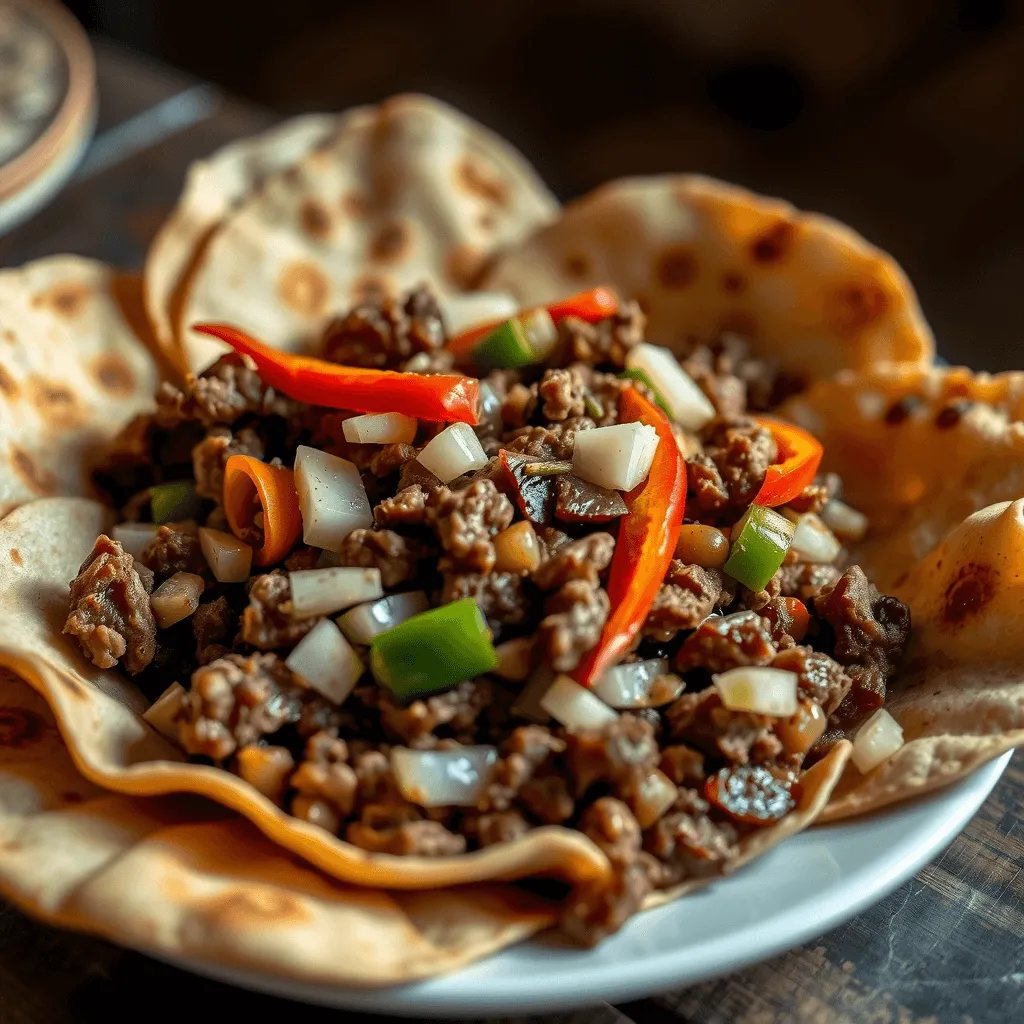
2. Layer and Cook the Meats
You’re aiming for maximum flavor complexity, built pun by rendered fat and leftover morsels that carry over from one meat to the next.
- Start with bacon: Let the fat render fully, crisp edges for fond.
- Next, chorizo: Sauté until it firms up and releases oil.
- Add diced ham: Stir until lightly browned.
- Toss in sliced hot dogs: Gives that smoky snap when seared.
- Finally, ground beef: Brown thoroughly, breaking lumps as you go.
Pro tip: Make sure each meat cooks before adding the next, it keeps flavors clean and rich.
3. Add Vegetables and Aromatics
- Stir in onions, bell peppers, garlic, tomatoes, jalapeños.
- Cook until veggies soften and marry their flavors.
- Scrape the pan bottom to absorb meat infusion.
4. Deglaze & Simmer
- Pour in beer (or broth) and soy sauce.
- Scrape to release fond; flavor builds from those caramelized bits.
- Simmer uncovered for 10–15 minutes, stirring occasionally.
- Taste and adjust seasoning with salt and pepper.
Serving Station: Turn Discada Recipe into a Fiesta
1. Presentation & Serving
- Offer hot corn tortillas warmed on a griddle or pan.
- Provide lime wedges, chopped cilantro, diced onions.
- Consider sides like Mexican rice, charro beans, or street corn (elote).
2. Build‑Your‑Own Taco Table
- Lay out salsas: red, green, and pico de gallo.
- Set up plates, toppings, napkins, and soft/firm tortillas.
- Now guests can assemble their perfect discada tacos!
Tips and Tricks for Mastery
- Fat content matters: Higher‑fat meats = richer taste.
- Don’t overcrowd: Cook in batches if needed, overcrowding causes steaming, not searing.
- Heat control: Keep it at medium‑high; avoid scorching.
- Timing is essential: Add veggies once meats are nearly done to preserve texture.
- Let it rest: Let discada rest a few minutes off heat to meld flavors.
Make‑Ahead & Leftover Guidance
Meal Prep Made Easy
- Prepare discada up to the simmer stage.
- Cool it, then store in airtight containers in the fridge, lasts 3 days, or freeze for 2–3 months.
Smart Reheating
- Stovetop method: Reheat on medium-low. Add a splash of broth or beer if it dries out.
- Oven: Cover with foil at 180 °C (350 °F) for 15–20 minutes until heated.
- Oil-free: Avoid microwave, texture suffers.
FAQ: Real‑Time Answers for Real‑World Problems
What sets discada apart from tacos or fajitas?
Discada Recipe combines multiple meats into one open flame outdoor spectacle. Unlike fajitas or tacos, which focus on individual components, discada emphasizes cross-flavor integration, making it a communal culinary ritual.
Can you make it without a disco pan?
Absolutely! Use a large cast‑iron skillet or deep wok, you’ll still get that rich, layered flavor; though lacking the outdoor ambiance.
Is discada spicy?
You choose! Incorporate jalapeños or hot sauce to your preference. Make it mild or bold.
What beverages go best with it?
Serve Mexican lagers, refreshing aguas frescas, or classic margaritas. Non-alcoholic? Try a fruity horchata or tamarind agua fresca.
Conclusion
Cooking discada is more than just preparing a meal, it’s curating an experience. From the sizzle of bacon to the last bite of taco, your backyard becomes a celebration of flavor, tradition, and community.
What to do next:
- Grab your disco or skillet.
- Shop the ingredients, make it yours with fresh adaptations.
- Invite your friends or family.
- Cook alongside them, let the aroma do the talking, and build memories with each layered bite.
You’ve got the roadmap, now bring tradition to your table. Don’t just cook discada, live it, savor it, and share it. Let me know how your first cookout goes, or ask me anything if you hit a snag, I’m here to help you perfect that sizzling fiesta.
Did this guide spark your appetite?
Share your discada experience in the comments below, not only does it inspire others, but I love hearing how your version turns out. And hey, take a photo, post it, and tag with us #DiscadaDelight so we can celebrate together!
LEAVE A COMMENT
There are no reviews yet. Be the first one to write one.