The Magic of Mastering Salmon Sashimi at Home
You’ve probably savored salmon sashimi at a fancy sushi bar, admiring its silky texture and clean ocean flavor. But imagine creating that same delicate experience in your own kitchen: the chill of the fillet, the sharp gleam of your knife, and the quiet focus as you slice each piece. Whether you’re looking to dazzle dinner guests, explore Japanese cuisine, or simply indulge in a moment of calm culinary artistry, this guide shows you step‑by‑step how to make salmon sashimi at home like an expert.
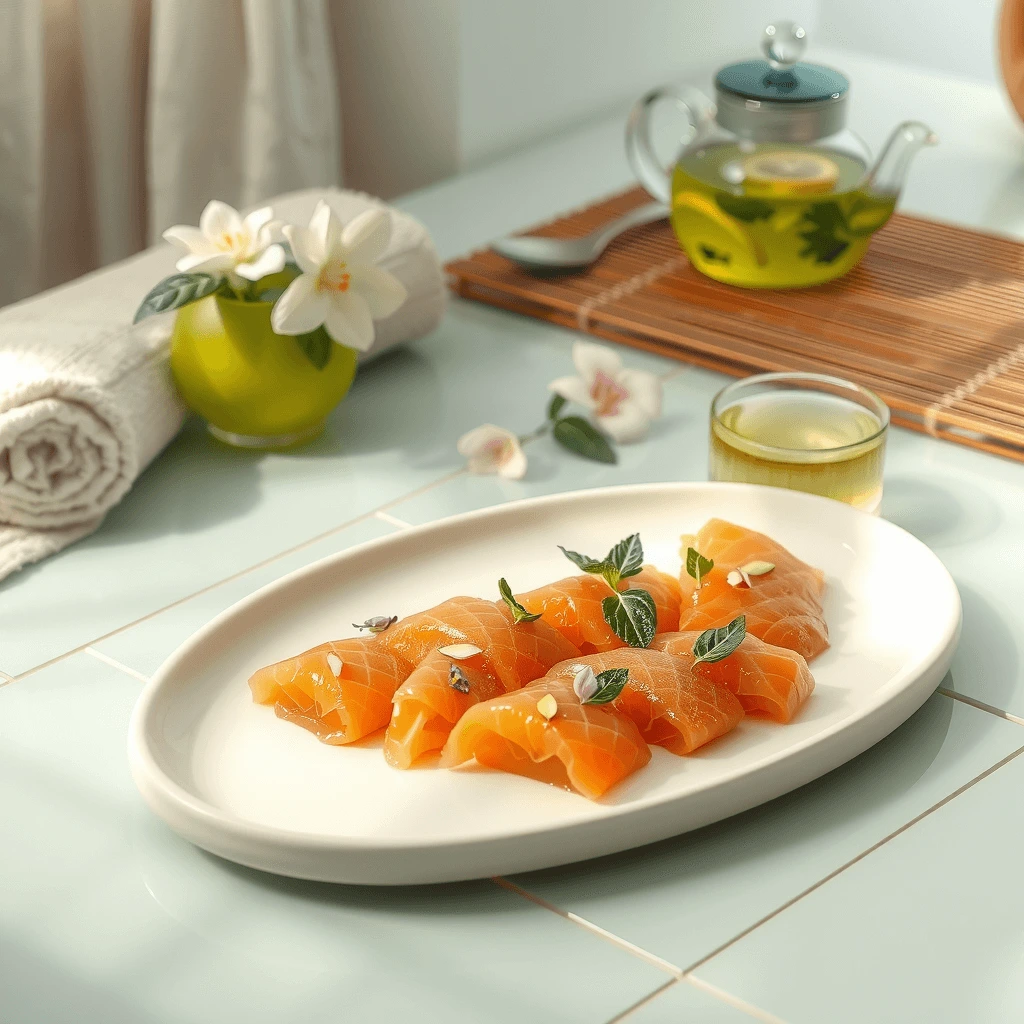
Salmon Sashimi
Ingredients
Equipment
Method
- Clean and prep workspace
- Pat salmon dry
- Slice with a sharp knife
- Arrange on plate
- Serve with soy sauce, wasabi, and ginger
Notes
🧾 Full Nutrition Facts (Per Serving)
| Nutrient | Amount |
|---|---|
| Calories | 220 kcal |
| Total Fat | 13 g |
| Saturated Fat | 3 g |
| Cholesterol | 50 mg |
| Sodium | 300 mg |
| Carbohydrates | 2 g |
| Sugars | 1 g |
| Protein | 22 g |
(Values vary depending on portion size and condiments.)
What Is Salmon Sashimi? A Culinary Staple of Japanese Cuisine
Before diving in, it helps to know what sets sashimi apart from sushi. Sashimi is thin, pristine cuts of raw fish served without rice, unadorned, pure, and elevated. It demands precision and respect for fresh ingredients. Salmon sashimi honors that tradition, offering a clean, buttery bite that’s all about the fish. As you learn to prepare it yourself, you’ll also appreciate the history and etiquette behind this refined Japanese dish.
Choosing the Best Salmon for Sashimi at Home
✅ Sashimi‑Grade Salmon: What It Really Means
When you see “sashimi‑grade” salmon, it’s not a marketing gimmick, it’s a safety standard. Suppliers freeze it to very low temperatures to kill parasites and label it safe for raw consumption. Trust only vendors with clear sourcing practices.
Best Salmon Types for Sashimi
- Atlantic salmon – Easily found and known for its gentler flavor.
- King (Chinook) – richer, fattier, and indulgent.
- Sockeye (Red) – vibrant color, firmer bite.
Where to Buy
- Specialty fishmongers or Japanese markets are ideal.
- Online seafood sellers often offer flash‑frozen sashimi products.
- Avoid normal supermarket salmon unless explicitly labeled for raw consumption.
Essential Tools & Ingredients You’ll Need

Here’s a handy checklist to keep you on track:
| Item | Purpose | Notes |
| Sashimi‑grade salmon | The main ingredient | Must be from trusted source |
| Very sharp long knife | Smooth, clean cuts | Preferably a yanagiba or sashimi knife |
| Cutting board | Safe workspace | Keep it sanitized |
| Soy sauce | For dipping | Choose low‑sodium if preferred |
| Wasabi (optional) | Musky, spicy accent | Fresh paste adds authenticity |
| Pickled ginger | Palate cleanser | Complements the fish taste |
| Clean towel & gloves | Hygiene focus | Food safety counts |
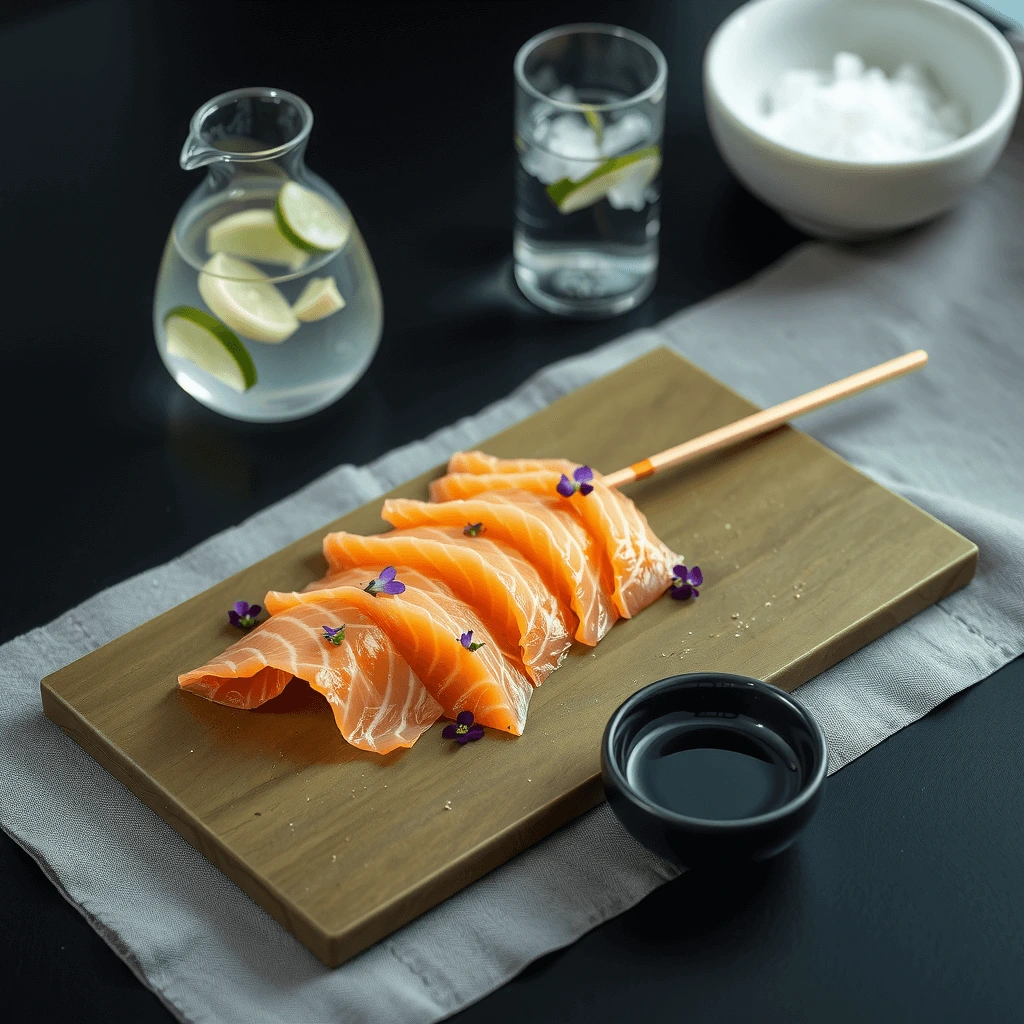
Step‑by‑Step Guide: How to Slice Salmon for Sashimi Like a Pro
1. Prep Your Station
Ensure your workspace is clean, sanitize your hands and tools, and keep the salmon refrigerated until it’s time to cut.
2. Inspect the Fillet
Trim off the skin, pull out any pin bones, and eliminate the dark bloodline, as it may contribute an overpowering taste. Use tweezers for any hidden bones.
3. Determine Your Cutting Angle
A 45° diagonal cut brings out the best texture and appearance in each slice. Think elegant strokes, not saws.
4. Slice with Precision
Using a single long stroke, glide your knife cleanly through the flesh. Wetting the blade helps prevent sticking.
5. Portion Thoughtfully
Aim for slices about ¼ inch thick and 2–3 inches long. Spread them neatly on your platter for that restaurant feel.
How to Plate and Serve Salmon Sashimi for Maximum Impact
Elegant Presentation Tips
- Choose a simple ceramic or chilled glass plate.
- Arrange slices in a fan or overlapping semilunar shape.
- Garnish sparingly: shredded daikon, shiso leaf, or a thin lemon wedge.
Flavor Accents & Sauces
- Serve with light soy sauce or ponzu.
- Place a small touch of wasabi alongside the dish.
- Include pickled ginger for cleansing between bites.
Common Mistakes to Avoid
Here’s how to steer clear of pitfalls:
- Using uncertified salmon → Always confirm “sashimi‑grade.”
- Sawing motion with the knife → Use clean, non‑jagged strokes.
- Letting the fish warm up → Slice only after removing from cold storage.
- Cross‑contamination → Use separate boards and utensils for raw and prepared foods.
Storing Leftover Salmon Sashimi Safely
If you have extra slices:
- Keep refrigerated and consume within 24 hours.
- Use an airtight container to reduce oxidation.
- Leftover sashimi can elevate poké bowls, light rice salads, or even quick sushi rolls.
Frequently Asked Questions About Salmon Sashimi
❓ Can I use supermarket salmon for sashimi?
Only if it’s clearly labeled sashimi‑grade or “safe for raw consumption.” Most generic supermarket salmon doesn’t meet the necessary safety standards.
❓ How do I know if salmon is fresh enough?
Look for bright, vibrant color, firm texture, and absence of any fishy smell. If it off‑smells at all, even slightly, don’t use it raw.
❓ Can you safely prepare and enjoy salmon sashimi in your own kitchen?
Yes, provided you use certified sashimi‑grade fish, freeze it properly, and maintain strict hygiene standards in handling and preparation.
❓ Can salmon sashimi be frozen?
Yes, but freeze it before slicing ideally. Once it’s thawed and sliced, serve immediately for the best taste and texture.
Conclusion: Savor the Art of Homemade Salmon Sashimi
Creating salmon sashimi in your kitchen is more than a cooking task, it’s a mindful act. With the right sashimi‑grade salmon, proper tools, and careful technique, you can craft an experience that rivals upscale sushi restaurants.
You’ll gain confidence with each slice, learn to respect the calm precision of the practice, and impress anyone you serve. So next time you’re craving that melt‑in‑your‑mouth salmon sashimi, take a moment to prepare it yourself, with intention, care, and a bit of flair.
Try it this weekend, and let me know how it turns out! Share your plating photos, favorite sauce combos, or slicing techniques. I’d love to hear your home‑made sashimi success stories.
LEAVE A COMMENT
There are no reviews yet. Be the first one to write one.