If there’s one dessert that feels like a cozy hug wrapped in elegance, it’s chocolate panna cotta. You know that moment when something simple transforms into sheer indulgence? That’s what happens when you make panna cotta, a silky, creamy Italian classic, with rich chocolate folded in. The best part? You don’t have to be a professional chef to master this delight. In this guide, you’ll discover exactly how to make perfect chocolate panna cotta, step by step, so you can impress yourself and anyone lucky enough to try it.
What Is Chocolate Panna Cotta? A Quick Introduction
Before diving into the kitchen, let’s unpack what makes chocolate panna cotta so special. Originating from Italy’s Piedmont region, panna cotta literally means “cooked cream.” The traditional version is a simple blend of cream, sugar, and gelatin, which sets into a smooth, custard-like treat. Adding chocolate turns it into a luxurious dessert that’s both comforting and sophisticated, ideal for everything from casual dinners to festive celebrations.
You’ll appreciate panna cotta’s delicate balance between creamy texture and subtle sweetness, with the chocolate adding just the right amount of richness without overpowering the palate. If you’re curious about nutritional info, it’s a dessert you can enjoy guilt-free in moderation, especially if you control the sugar and use dark chocolate.
Essential Ingredients for Perfect Chocolate Panna Cotta
Choosing the right ingredients is your first step toward dessert bliss. Each element plays a key role in achieving the ideal texture and flavor.
| Ingredient | Quantity | Purpose | Tips for Best Results |
| Heavy cream | 2 cups (480 ml) | Provides rich creaminess | Use full-fat cream for silky texture |
| Whole milk | 1 cup (240 ml) | Lightens the cream mixture | Can substitute with oat or almond milk |
| Granulated sugar | 1/2 cup (100 g) | Adds sweetness | Adjust according to your taste |
| Dark chocolate | 150g | Main flavor and richness | Choose 60-70% cocoa for balanced bitterness |
| Gelatin sheets/powder | 2 tsp | Helps panna cotta set firmly | Agar-agar works as a vegetarian alternative |
| Vanilla extract | 1 tsp | Enhances overall flavor | Optional but recommended |
By investing in good-quality chocolate and fresh cream, you’re setting yourself up for success. The gelatin will give your panna cotta the perfect wobble, not too loose and not too stiff.
Tools You’ll Need to Make Chocolate Panna Cotta
Before you start, make sure your kitchen is equipped with:
- A medium saucepan
- Mixing bowls
- A whisk or spoon for stirring
- Measuring cups and spoons
- Ramekins or molds for setting the panna cotta
- A fine sieve (optional, but recommended to strain mixture)
Having these ready will make your process smooth and enjoyable.
Step-by-Step Guide to Making Chocolate Panna Cotta
1- Preparing the Gelatin
First, soften your gelatin by soaking gelatin sheets in cold water for 5-10 minutes. If you’re using powdered gelatin, sprinkle it over a small amount of cold milk or water and let it bloom until it thickens, about 5 minutes. This step is essential to help the gelatin dissolve smoothly and prevent any clumps from forming.
2- Heating the Cream and Milk
Pour the heavy cream and whole milk into your saucepan and add the sugar. Gently heat the mixture on medium-low, giving it a stir now and then. You want the sugar completely dissolved, but avoid letting it boil. This gentle heating preserves the cream’s smooth texture.
3- Melting the Chocolate
Once the cream mixture is hot, remove it from the stove and stir in the chopped dark chocolate. Use the leftover heat to slowly melt the chocolate, stirring continuously until it’s smooth and velvety. Adding the vanilla extract now enhances the chocolate’s natural depth.
4- Incorporating the Gelatin
Squeeze the excess moisture from the gelatin sheets, then stir them into the warm cream and chocolate mixture until fully dissolved. If using powdered gelatin, stir it in gently until completely dissolved. This step is the foundation of panna cotta’s signature jiggle.
5- Straining and Pouring
For an ultra-smooth finish, pour the mixture through a fine sieve into your ramekins or molds. This catches any small undissolved bits or bubbles that might affect the texture.
6- Cooling and Setting
Let the panna cotta cool at room temperature for about 30 minutes, then transfer it to the refrigerator. Refrigerate for at least 4 hours, though overnight is best to allow full setting and flavor melding.
7- Serving Your Masterpiece
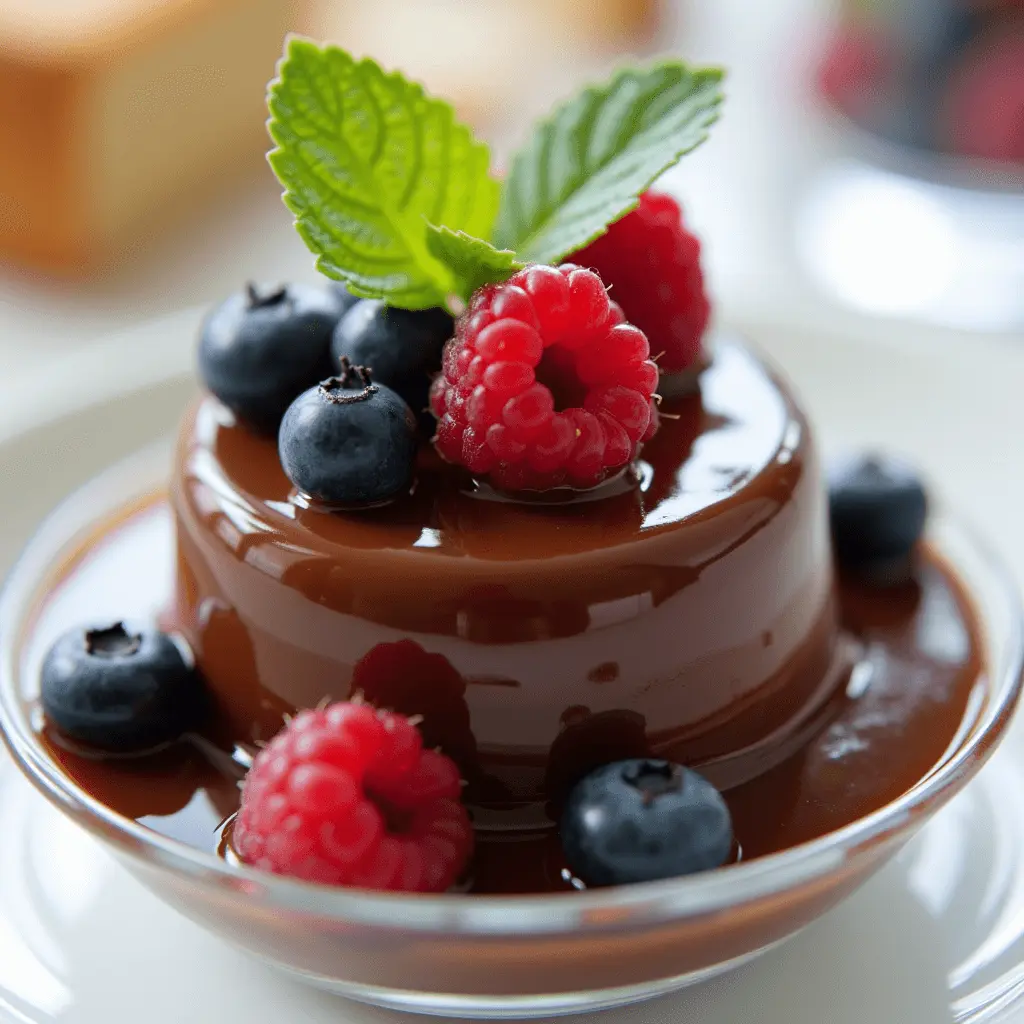
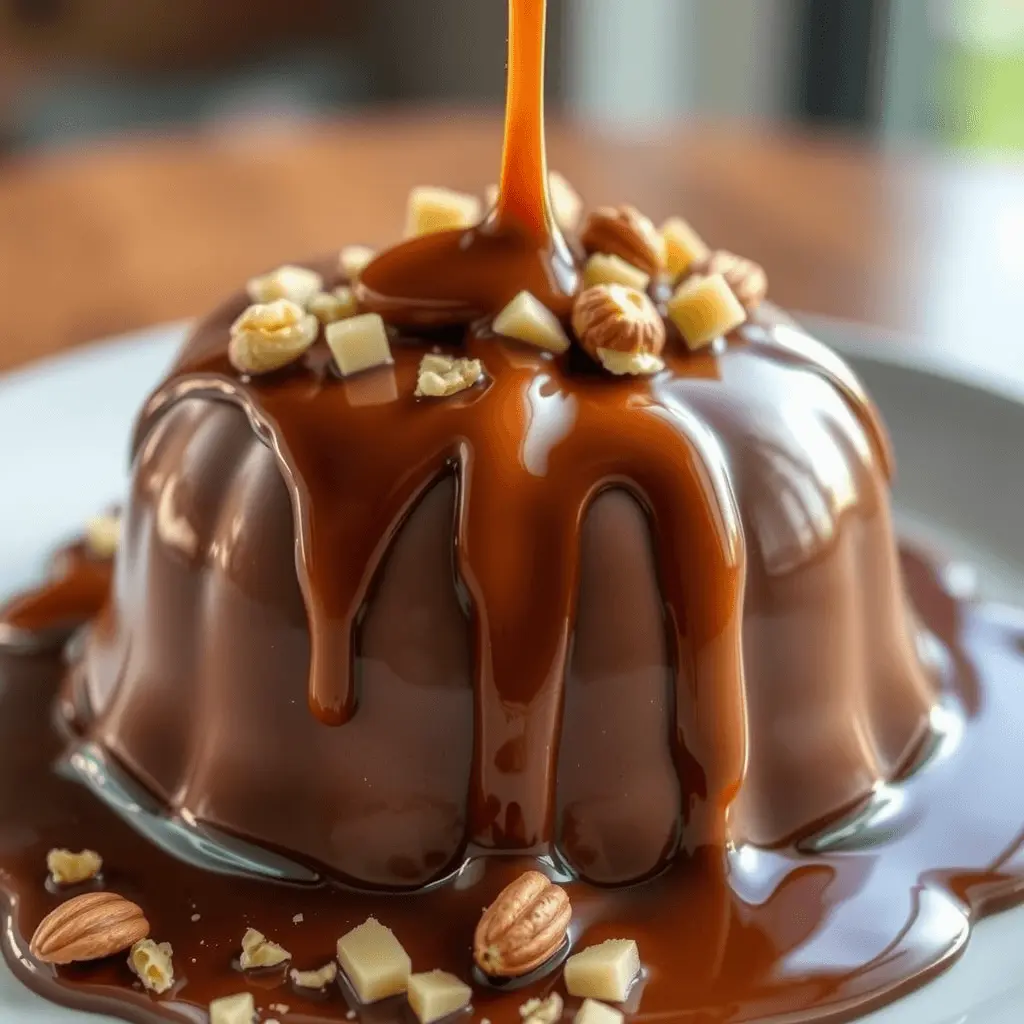
Run a knife carefully around the inner edge of the mold to loosen the panna cotta for easy removal. Quickly dip the base of each mold into warm water for a few seconds, just enough to release it without melting, then invert onto serving dishes. Elevate the presentation by topping with fresh berries, a light cocoa sprinkle, or a delicate stream of chocolate sauce.
Tips for Achieving the Perfect Texture
Getting panna cotta’s texture just right is often the biggest challenge. Here’s what you should keep in mind:
- Do not boil the cream mixture. Boiling can cause the cream to separate and lose its smoothness. Warm it gently instead.
- Use the right amount of gelatin. Using too little will leave the dessert overly soft, while too much can give it a rubbery texture. Stick to the recipe’s recommended amount.
- Bloom gelatin properly. This helps it blend smoothly and allows the panna cotta to set just right.
- Strain the mixture. It removes any lumps or chocolate bits, leaving a silky texture.
- Chill long enough. The panna cotta needs time to firm up completely, overnight chilling produces the best results.
Variations and Serving Suggestions
Once you’ve mastered the classic chocolate panna cotta, feel free to experiment:
- White Chocolate Panna Cotta: Swap dark chocolate for creamy white chocolate for a sweeter, gentler flavor.
- Vegan Version: Use coconut cream and agar-agar powder instead of dairy and gelatin. The process is similar but needs slight adjustments in quantities and cooking time.
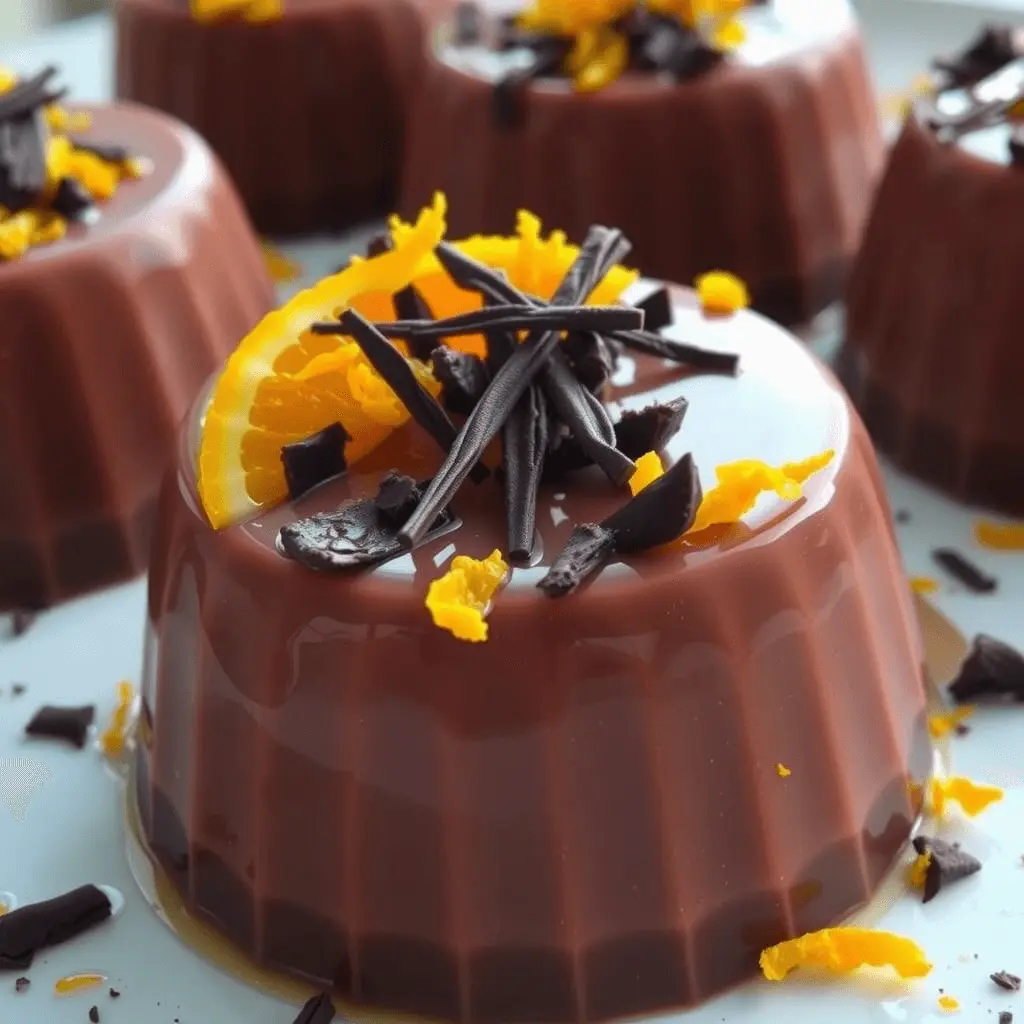
- Flavor Infusions: Add a pinch of cinnamon, espresso powder, or orange zest during heating to create unique twists.
- Presentation Ideas: Layer panna cotta with fruit purees or crushed cookies for texture contrast. Serve with whipped cream, toasted nuts, or fresh mint leaves.
Troubleshooting Common Problems
Even the best cooks face hurdles. Here’s how to fix frequent issues:
- Panna Cotta too soft? Increase gelatin by 0.5 tsp next time.
- Too firm or rubbery? Reduce gelatin slightly or check blooming time.
- Chocolate separating or grainy? Ensure chocolate melts fully before mixing; don’t overheat.
- Bubbles or cracks on surface? Tap molds gently before refrigerating and avoid sudden temperature changes.
- Difficult to unmold? Warm water dip technique works best; you can also serve panna cotta in the mold to skip unmolding stress.
Frequently Asked Questions (FAQs) About Chocolate Panna Cotta
What is the best chocolate to use for panna cotta?
You want a high-quality dark chocolate with 60-70% cocoa content. This balance brings rich flavor without overwhelming bitterness or sweetness.
Can chocolate panna cotta be prepped ahead?
Definitely, and it’s actually best made a day ahead. This allows the flavors to develop and the texture to set beautifully.
For how long does chocolate panna cotta remain fresh when refrigerated?
Keep it covered in the fridge and use within three days to enjoy optimal freshness. After that, texture and flavor might degrade.
Is there a dairy-free alternative for chocolate panna cotta?
Yes! Substitute coconut cream for heavy cream and agar-agar for gelatin. The process is similar but requires careful attention to agar’s setting time.
How can I tell if my panna cotta is perfectly set?
When unmolded, it should keep its form yet gently wobble, similar to soft jelly. If it feels too stiff, try using less gelatin next time.
Conclusion: Ready to Craft the Ultimate Chocolate Panna Cotta? Let’s Get Started!
Now that you’ve unlocked the secrets to perfect chocolate panna cotta, it’s time to turn your kitchen into a mini-Italian trattoria. You don’t need fancy equipment or complicated techniques, just a handful of quality ingredients and a little patience. The silky texture, the rich chocolate flavor, the elegance on the plate, all come together in this deceptively simple dessert that never fails to impress.
Why wait for a special occasion? Treat yourself and your loved ones today. Experiment with flavors, tweak the recipe to your liking, and most importantly, savor every spoonful. When you master chocolate panna cotta, you’re not just making dessert, you’re creating moments of joy, one creamy bite at a time.
Ready to give it a go? Grab your ingredients, follow this step-by-step guide, and share your delicious results. Your perfect chocolate panna cotta awaits!
LEAVE A COMMENT
There are no reviews yet. Be the first one to write one.