Your Comfort in a Bowl Awaits
There’s something magical about a steaming bowl of Olive Garden minestrone soup, it’s like a warm hug from the inside. You might grab it during a cozy dinner, or maybe it’s your go-to when you need a hug without the calories. In this guide, you’ll learn how to recreate that familiar, veggie-packed flavor in your kitchen. Think of it as bringing a taste of Olive Garden home, without the wait, and with full control over ingredients, portions, and flavor.
Why This Copycat Recipe Works for You
You’re not just following steps, ou’re crafting comfort. Here’s what makes this version so satisfying:
- Authentic flavor on a home‑friendly budget
- 100% plant‑based, with room to adapt if you want more protein
- Loaded with fiber and nutrients while still feeling light
- Flexible for your pantry—combine fresh and canned staples easily
- Great for batch cooking and leftovers
Ingredients You’ll Need

Ingredient Table for 6 Servings
| Ingredient | Quantity |
| Olive oil | 2 tablespoons |
| Onion, diced | 1 medium |
| Garlic, minced | 3 cloves |
| Carrots, diced | 2 medium |
| Celery, diced | 2 stalks |
| Zucchini, chopped | 1 cup |
| Green beans, chopped | 1 cup |
| Canned diced tomatoes | 1 (14.5 oz) can |
| Tomato paste | 2 tablespoons |
| Vegetable broth | 6 cups |
| Kidney beans, drained | 1 (15 oz) can |
| Great Northern beans, drained | 1 (15 oz) can |
| Fresh spinach (or kale) | 2 cups |
| Small pasta (ditalini/shells) | ¾ cup |
| Italian seasoning | 1 tablespoon |
| Salt & black pepper | To taste |
Optional Swaps
- Gluten‑free pasta works just as well
- Kale in place of spinach for heartier greens
- A Parmesan rind (if you’re not vegan) for richer depth
- Add red pepper flakes to spark it up
How to Make It: Step‑by‑Step
Step 1 – Prep Everything
You’ll feel driven when everything’s ready. Wash, chop, and measure before heating up that pot.
Step 2 – Sauté the Base
Heat the oil, then soften the onion, garlic, carrots, and celery for about 5–7 minutes, but no burning. You’re building flavor, not rush hour.
Step 3 – Build the Soup
Combine tomato paste, chopped tomatoes, broth, Italian seasoning, salt, and pepper into the mixture. Bring it just to a gentle boil, let the flavors wake up together.
Step 4 – Add Veggies & Beans
Bring in zucchini, green beans, and both beans. Let them simmer uncovered for 15–20 minutes. Your kitchen’s filling with that Italian comfort aroma, breathe it in.
Step 5 – Pasta & Greens Last
Add your pasta now, cook until al dente (about 7–8 minutes), and fold in the spinach only at the final minute so it wilts, not loses personality.
Step 6 – Taste & Serve
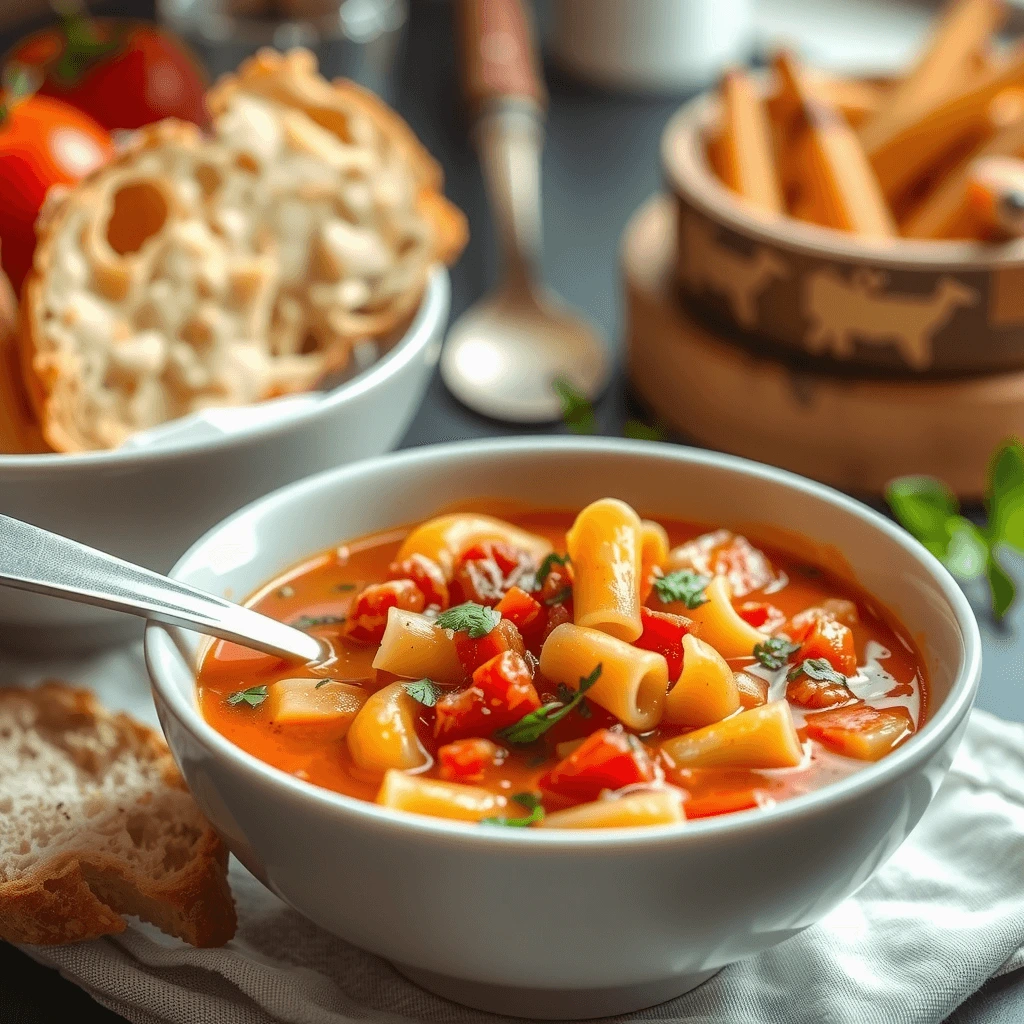
Stir, taste, season as needed. Dig in while it’s hot, pairing it with rustic bread or topping it off with grated Parmesan or chopped parsley.
Smart Cooking Tips You’ll Appreciate
- Keep pasta firm: it softens even after you turn the heat off.
- Let it rest: a 10‑minute hush helps flavors deepen.
- Thickening hack: leave it simmering without a lid if it seems too brothy.
- Just before serving, sprinkle on some parsley or basil, fresh herbs take it to the next level.
Nutritional Snapshot: What’s in Your Bowl
Here’s a look at what you’re eating, and why it’s a smart choice:
- Restaurant Olive Garden version has around 110 calories, 1 g fat, 17 g carbs, 5 g protein, 4 g fiber, and ~810 mg sodium per cup
- A homemade version tends to be lighter in sodium and calories, with similar fiber and protein
By making it yourself, you get to control the salt, broth quality, and just how veggie‑rich it gets. That’s a win you can eat daily.
Serving Suggestions: Your Meal, Your Way
Craving a full Italian vibe? Pair that bowl with:
- Garlicky breadsticks or crusty sourdough
- Caesar or simple green salad
- A cold sparkling water or dry red wine (if you’re feeling fancy)
Storing & Reheating: Soup That Sticks Around

- In the fridge: Good for 4–5 days in a sealed container.
- Tip: If the pasta firms up, just add a splash of broth or water while reheating to loosen it.
- Freezer friendly: Freeze broth and veggies minus the pasta, pasta can get gummy. Thaw overnight, reheat, and cook fresh pasta if needed.
FAQ: You’ve Got Questions; We’ve Got Answers
Is this Olive Garden minestrone soup vegan?
Yes, absolutely. This guide keeps it fully plant‑based, no cheese or cream.
Can I make it in a slow cooker?
Indeed, add everything except pasta and greens. Cook on low for 6–8 hours. Stir in pasta and greens about 30 minutes before serving.
Can I use frozen veggies?
Absolutely, especially for convenience. Just add them when you’d add fresh, to avoid overcooking.
How do I keep the pasta from getting mushy later?
Store cooked pasta separately or add it only when you’re ready to eat.
Conclusion: Your Kitchen, Your Comfort
So there you have it, your personalized recipe to recreate Olive Garden minestrone soup at home. You’ve got the full scoop: flavorful, healthy, and versatile. It’s the kind of meal that warms the belly and fills you with pride that you made it.
Take this guide, roll up your sleeves, and let your kitchen smell like Italy. You’ve got everything you need. And hey, feel free to share your final soup pics or any creative tweaks you made. We’d love to see how you do comfort.
LEAVE A COMMENT
There are no reviews yet. Be the first one to write one.