
Your loved one’s special day is fast approaching. You’re searching for a way to make that moment unforgettable. And a plain cake? Just not enough. You want to infuse warmth, personality, and a smile into every slice. I still remember the look on my niece’s face when she discovered her favorite unicorn in pastel icing, glittering atop a homemade cake. It wasn’t the fanciest bakery confection, but it was hers. This is the core of what makes a personalized birthday cake extraordinary: it’s not just sugar and flour, but affection, memory, and joy. You’re about to learn how to craft a birthday cake that won’t just be eaten, but celebrated.
Why a Personalized Birthday Cake Matters
It Shows That You Care
When you dedicate time to design, bake, and decorate a birthday cake, you’re sending a message: “I thought about you.” That emotional resonance shines through in every swirl of frosting.
It Makes the Celebration Memorable
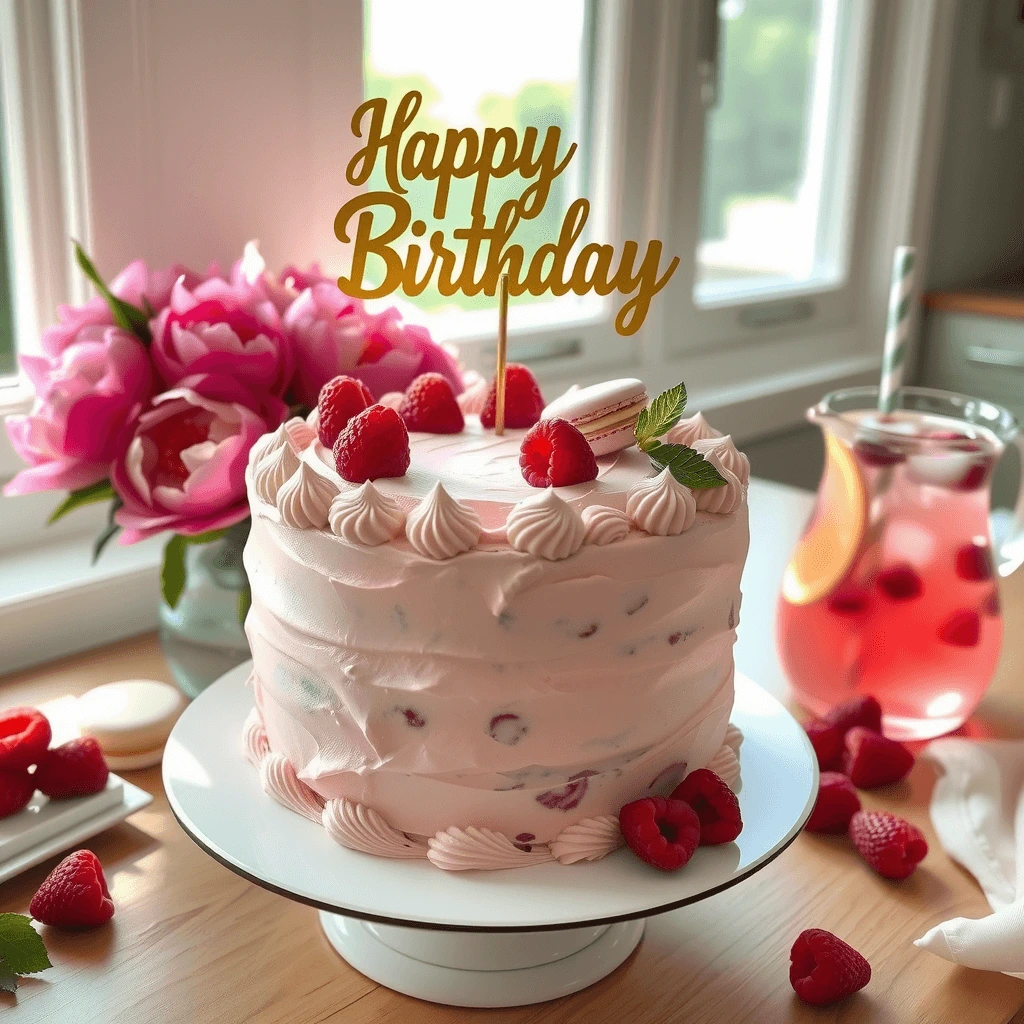
A customized birthday cake becomes the centerpiece, the moment everyone rushes their phones out to snap photos. You’re not just serving dessert; you’re creating a moment worth remembering.
It Builds Anticipation
From the initial spark of the design to the joyful reveal, every tier builds excitement, leading up to that unforgettable moment of delight.
Tip: Sprinkle in an anecdote about how a themed cake created a moment of magic at a party you attended or hosted. It adds credibility and emotional depth.
Planning Your Personalized Birthday Cake Design
Know Who You’re Baking For
- Age & interests: A toddler may delight at cartoon frosting; a teen might appreciate elegant buttercream with a cutout silhouette.
- Allergies or dietary restrictions: Gluten-free, vegan, or dairy-free? No problem. Use alternative flours, plant-based milks, and egg substitutes.
- Flavor preferences: Chocolate forever? Classic vanilla? Fruity? Get intel early, ask casually or inspect their favorites in the pantry.
Pick a Theme That Resonates
Perhaps they love space exploration, gardening, or French patisserie. Look through platforms like Pinterest, Instagram, or your collection of party inspirations to spark creative design ideas. Match the cake to the overall party aesthetic to tie the celebration together seamlessly.
Gathering Ingredients – Quality Makes a Difference

Essential Ingredients for a Fluffy, Moist Cake
| Ingredient | Quantity | Notes |
| All‑purpose flour | 2½ cups (312 g) | Sifted to eliminate lumps |
| Unsalted butter | 1 cup (227 g) | Softened to room temperature for even mixing |
| Granulated sugar | 2 cups (400 g) | Use fine white sugar for smooth texture |
| Large eggs | 4 | Better at room temperature for loft and blend |
| Baking powder | 2 tsp | Check freshness to ensure good rise |
| Whole milk | 1 cup (240 ml) | Substitute almond or oat milk if needed |
| Vanilla extract | 1 Tbsp | Pure extract is superior to artificial |
Kick it up: Add ½ cup cocoa for chocolate, or a spoon of zest for citrus appeal.
Specialty Tools and Decorations
- Turntable
- Offset spatula
- Piping bags & assorted tips
- Fondant smoother
- Edible markers or glitter
Pick up items at cake supply boutiques or order online. Local bakery shops may also offer decorating kits that make crafting easier.
Making the Cake – Step by Step
1. Prepare Your Layers
- Preheat the oven to 350 °F (175 °C).
- Grease your cake pans with butter or non-stick spray, line the bottom with parchment.
- Whisk dry ingredients in one bowl; beat butter and sugar until fluffy, then add eggs one at a time.
- Alternate adding dry mix and milk, fold gently until smooth batter forms.
- Divide evenly into pans, bake 25–35 minutes (test with a toothpick).
- Cool completely before unwrapping parchment layers.
2. Frosting and Filling
- Buttercream: Classic and pipe‑friendly.
- Whipped cream: Light and airy, but needs refrigeration.
- Ganache or mousse: Elegant, luxurious, but richer.
Coloring tip: Gel food colors yield vivid results without altering taste; natural tints (beet juice, matcha) also add charm.
Filling ideas: Layer with raspberry jam, lemon curd, chocolate mousse, or fresh fruit.
3. Assembly Like a Pro
- Trim domed tops for flat layers.
- Spread a thin “crumb coat” layer of frosting, then chill for 15 minutes.
- Add final frosting layer in smooth strokes.
- Rotate your turntable for even coverage.
Decorating Tips That Add Personality
Simple Techniques with Big Impact
- Piped rosettes, dots, shells, or swirls: Use large star tips for playful textures.
- Stenciled designs: Lightly dust powdered sugar or cocoa through a stencil for clean patterns.
- Edible toppers: You can buy or handcraft edible decorations like molded chocolate pieces or fondant characters to top your cake.
Advanced Flair
- Mirror glaze: gives your cake a glossy, reflective surface, just be sure the cake is well-chilled before pouring for the best effect.
- Airbrushing: Use edible paint to create gradients or metallic designs.
- Photo or logo prints: Some home icing printers and services let you transplant images directly onto sheets of edible paper.
Specialized Tools for Star Results
- Turntable ensures even frosting
- Offset spatula for smooth edges
- Piping bags and tips for detailed designs
- Fondant smoother, ideal for rolled and molded decorations
- Edible markers, for adding handwritten messages or doodles
Time‑Saving Hacks for Busy Bakers
- Prepare cake layers up to 3 days in advance and freeze them, defrost overnight in the fridge.
- Use an enhanced box mix: add sour cream, extra eggs, or melted butter to transform basic cake mix into moist perfection.
- Buy pre‑colored fondant or edible toppers for time efficiency.
- Pre‑set your workspace, have frosting, tools, and decorations laid out in advance to streamline decorating.
Presentation & Storage Best Practices
Show It Off
Place your masterpiece on a striking cake stand, add string lights or botanical accents around the base, and align with tablecloth and plates for an Instagram-worthy display.
Preserve the Cake
- Keep in a cool, dry place if baking and decorating early.
- Refrigerate if buttercream or ganache is used.
- Store leftover cake in an airtight container to maintain freshness; avoid freezer burn by double-wrapping.
Conclusion: Bake Joy, Not Just Cake
When you pour thought, emotion, and creativity into a birthday cake, you’re giving more than dessert, you’re gifting a memory. From carefully picking flavor and theme to the proud moment you light the candles, every step is imbued with meaning.
So go ahead, whip up that show‑stopping cake, celebrate your loved one, and witness the awe on their face. After all, joy tastes sweetest when it’s homemade.
Frequently Asked Questions About Making a Personalized Birthday Cake
How many days before the party can I bake the birthday cake?
You can bake layers up to 3 days ahead, wrap in plastic and refrigerate. Decorate the day before for the freshest look.
How can I customize a birthday cake without spending too much?
Customize with homemade decorations: piped borders, fresh fruit, or DIY cupcake toppers made from cardstock or fondant. Etsy also offers affordable, tailored cake toppers.
Can I personalize a store-bought cake?
Absolutely! Start with a plain vanilla or chocolate cake, then add character, fresh florals, piped messages, edible glitter, or a themed topper make a big difference.
How do I make a birthday cake for someone with dietary restrictions?
Use gluten-free flour blends, dairy-free margarine, plant-based milks, egg replacers (like flaxseed ‘eggs’), and allergy-safe toppings. Be sure to read ingredient labels thoroughly to prevent any risk of cross-contamination.
Let’s Bake Something Unforgettable
Ready to dazzle with your next birthday cake? Save or share this guide, gather your favorite ingredients, and get baking. Show off your cake by tagging me on social media, I’d love to celebrate your masterpiece.
Don’t let just any cake mark a moment, make it a cake worth remembering.
LEAVE A COMMENT
There are no reviews yet. Be the first one to write one.