There’s something deeply comforting about gathering around the dinner table and sharing a home-cooked meal. Maybe you’ve felt that warmth when the scent of roasting chicken fills the air,inviting, cozy, and rich with memories of laughter and conversation. When life gets busy with school runs, work projects, and never-ending to-do lists, you want dinners that lighten the load but still deliver on flavor, comfort, and nutrition. That’s where split chicken breast recipes come in. They’re affordable, versatile, and perfect for feed-a-family cooking. In this article, you’ll discover why split chicken breast deserves a spot in your dinner rotation, how to cook it to perfection, and five standout recipes you can rely on, night after night.
Why Choose Split Chicken Breast for Your Family Meals?
Affordable and Easy to Find
You’ll pay less for split chicken breasts than boneless ones, often 20–30% less, without sacrificing taste. Grocery stores almost always stock them, so they’re convenient to grab even when you’re in a rush.
Juicier, Tastier, More Satisfying
Cooking with the bone and skin intact helps lock in moisture and enhances the natural flavor of the meat. You’ll notice a deeper taste and tenderness that your family will actually notice (and appreciate!).
Adaptable to Every Cooking Style
Whether you’re crunched for time on a weeknight or planning something leisurely over the weekend, split chicken breast fits the bill. Roast it, grill it, slow-cook it, or toss it in the air fryer, you’ll get great results every time.
How to Cook Split Chicken Breast Perfectly Every Time
Preparation & Seasoning, Start Smart
- Dry the skin before you cook, it’ll help you get that mouth-watering crispiness.
- Stick to simple, mild seasonings, think garlic, rosemary, a little salt and pepper. That way, everyone at the table can enjoy it, even the pickiest eaters.
Cooking Methods Compared
| Method | Temperature | Time | Why It Works for You |
| Oven Roasted | ~200 °C (400 °F) | 35–45 minutes | Crispy, golden skin with juicy meat inside |
| Slow Cooker | Low (around 90 °C) | 6–7 hours | Fall-apart tender, perfect when your schedule is packed |
| Grill | Medium heat | ~20–25 minutes/side | Adds smoky flavor, ideal for summer gatherings |
| Air Fryer | ~190 °C (375 °F) | 30–35 minutes | Fast, crispy, and low-oil, great for busy nights |
Safety First
Make sure your internal thermometer reads 165 °F (74 °C) before pulling it from heat. Then, let it rest 5–10 minutes so the juices settle back in, this step ensures every bite is perfectly moist.
Five Crowd-Pleasing Split Chicken Breast Recipes
Here are your go-to dinners when you want easy, flavorful meals that your family will ask for again and again.
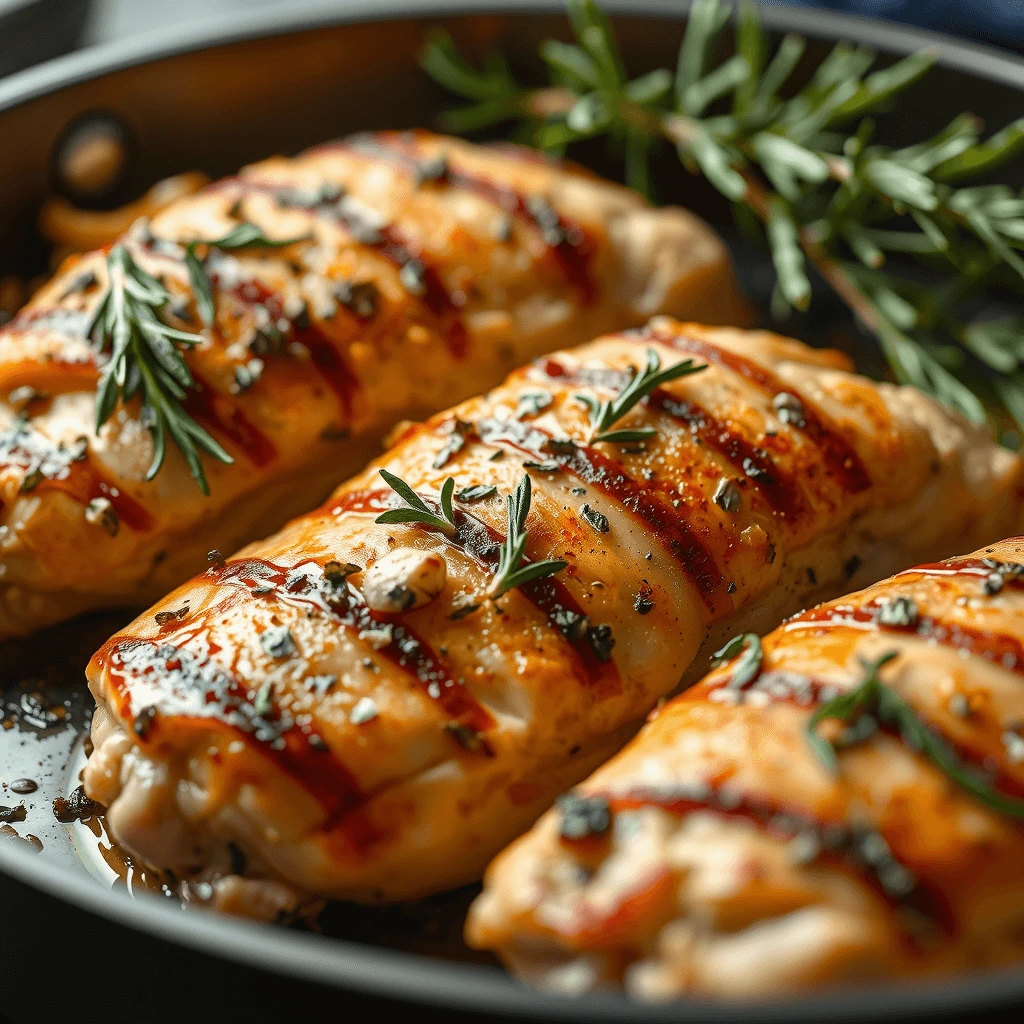
1. Oven‑Baked Garlic‑Herb Split Chicken Breast
Why it works for you: Mild, familiar flavors that feel comforting, great for any age.
Ingredients
| Ingredient | Quantity |
| Split chicken breasts | 4 pieces |
| Garlic, minced | 4 cloves |
| Fresh rosemary | 1 tbsp |
| Olive oil | 2 tbsp |
| Salt & black pepper | To taste |
Key touches:
- Blend garlic, rosemary, olive oil, salt, and pepper into a rub.
- Massage it under the skin and over the top.
- Roast at 200 °C for 40 minutes, then rest for a few minutes.
- Pair with mashed potatoes or green veggies, it’s a classic for a reason.
2. Honey‑Mustard Glazed Chicken
Why you’ll love it: That gentle sweet‑and‑tangy combo hits the spot for both kids and adults.
Steps at a glance:
- Whisk honey, Dijon mustard, and a bit of garlic.
- Brush onto the chicken and roast at 200 °C for about 40 minutes.
- You’ll get a sticky, golden glaze that’s irresistible.
- Perfectly paired with rice and steamed broccoli for a well-rounded, nutritious meal.
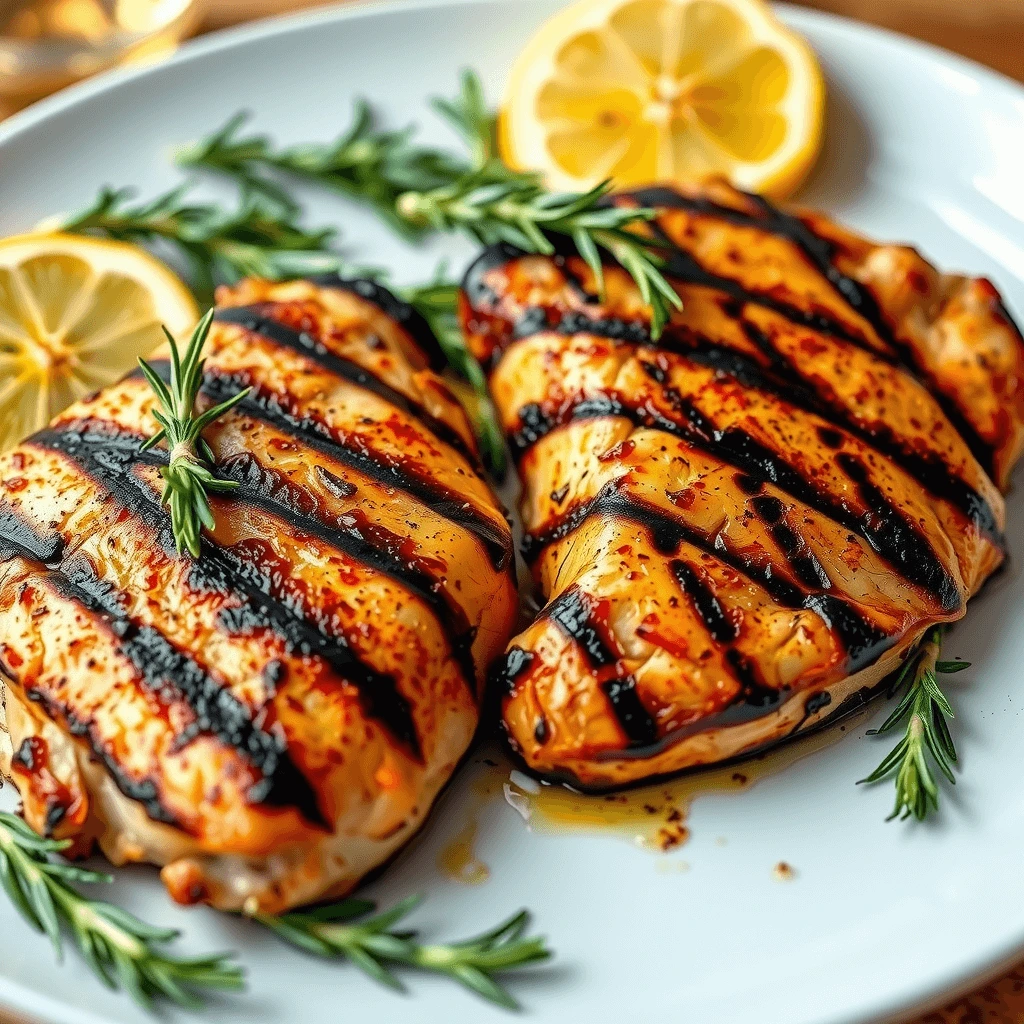
3. BBQ Grilled Split Chicken Breast
Why it’s a winner: A summertime favorite that brings smoky, outdoor vibes, even if the weather doesn’t cooperate.
Pro tips:
- Let chicken marinate (store-bought or homemade sauce) for 2–3 hours.
- Grill over medium heat, about 20 minutes per side, brushing more sauce halfway through.
- Finish with fresh herbs or a side of grilled corn for a perfect backyard feel.
4. Slow‑Cooker Lemon‑Herb Chicken
Why it simplifies dinner: You dump, walk away, and come back to dinner that’s tender and aromatic.
Ingredients
| Ingredient | Quantity |
| Split chicken breasts | 4 pieces |
| Lemon juice | ¼ cup |
| Italian seasoning mix | 1 tbsp |
| Chicken broth | 1 cup |
| Minced garlic | 3 cloves |
How it goes:
- Place everything in the slow cooker on low for 6–7 hours.
- The chicken is so tender it slips off the bone, infused with a bright, zesty lemon flavor.
- Serve it over rice or noodles for a no-fuss, one-pot meal.
5. Cheesy Baked Chicken with Broccoli
Why it feels special: It’s like a casserole, heartwarming, cheesy, and perfect for days when everyone needs coaxing to eat veggies.
What you do:
- Mix cooked rice (leftover works great) with steamed broccoli in a baking pan.
- Place chicken on top, sprinkle generously with cheese, bake until bubbly and golden.
- Minimal effort, maximum comfort. Bonus: it’s a great way to clear out the fridge.
Meal Planning: Getting Smart About Split Chicken Breast
Batch-Cook Smarter
- Cook up 4–6 pieces on your “prep day.”
- Use leftovers for wraps, soups, salads, saving time and keeping meals varied.
Shop & Store Efficiently
- Look for sales; freeze extra pieces (each individually wrapped) so you always have “fresh” on hand.
- Buying in bulk can save serious money, and keep your freezer stocked with easy dinners.
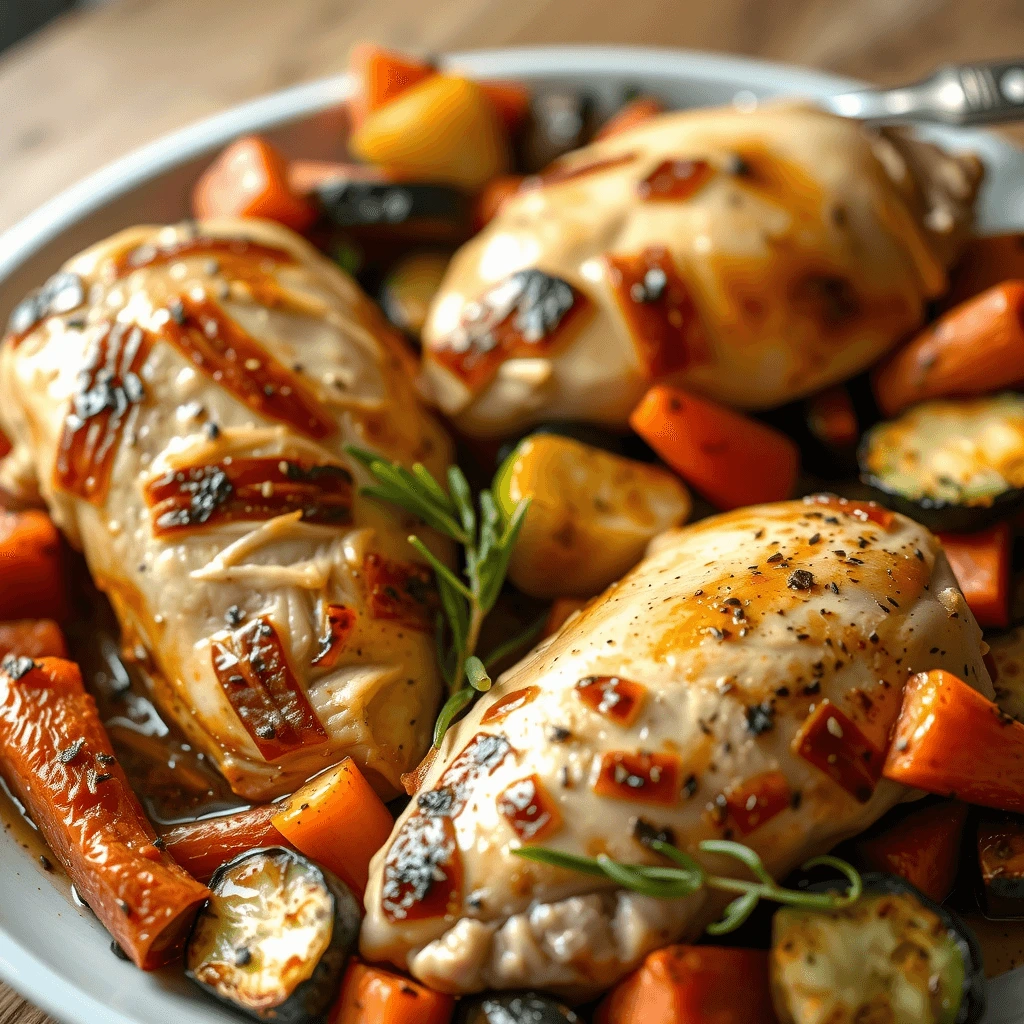
Pair It Right
A balanced plate feels intentional. Try:
- Roasted or steamed vegetables, carrots, greens, squash.
- Healthy grains like brown rice, quinoa, or whole-wheat pasta.
- Serve with a crisp side salad or speedy slaw for added crunch and vibrant color.
Frequently Asked Questions About Split Chicken Breast Recipes
Are split chicken breasts healthier than boneless?
They might have a touch more fat because of the skin and bone, but they lock in more flavor and moisture. On the whole, they’re just as nutritious and often more satisfying.
Can you freeze cooked split chicken breast dishes?
Absolutely. Let the dish cool, then seal tightly and freeze in airtight containers. They stay tasty for up to three months, making them ideal for meal prepping ahead.
What’s a fast, weeknight friendly split chicken recipe?
Grab your air fryer (or oven!), pat the chicken dry, lightly oil, season simply (garlic, salt, pepper), air-fry for about 30 minutes, or roast at 200 °C for 40 minutes. Dinner is done with minimal effort.
How do I make split chicken breast kid-friendly?
Stick to mild, familiar flavors, think garlic, honey, mild BBQ. Pair with sides the kids already love, mashed potatoes, corn, or soft veggies, and you’ll have happy faces (and clean plates) in no time.
Wrapping It Up: Why Split Chicken Breast Needs to Be Your Go‑To
When you choose split chicken breast, you’re picking a meal option that’s cost-effective, flavor-packed, and incredibly adaptable. It cuts corners, literally and figuratively, but delivers deeply satisfying results. You’re not just feeding your family; you’re giving them a warm, homey meal assembled with love and ease.
Your next steps?
- Pick one of the recipes, or two, to try this week.
- Set aside time for a quick meal prep day to make busy evenings breezier.
- Snap a photo of your beautifully golden chicken (if you like), and share it, it doesn’t just taste good; it looks good, too.
Every time you serve one of these meals, you’re doing more than putting food on the table. You’re creating moments, tiny, beautiful threads that stitch together family life. Now, go make your kitchen smell like home.
Enjoy dinner. Enjoy the company. And don’t forget, you’ve got this.🍽️🐔
LEAVE A COMMENT
Best Split Chicken Breast
Wonderful, Easy, Delicious. I Like it !